How to Grow Sage Indoors in a Kitchen Pot
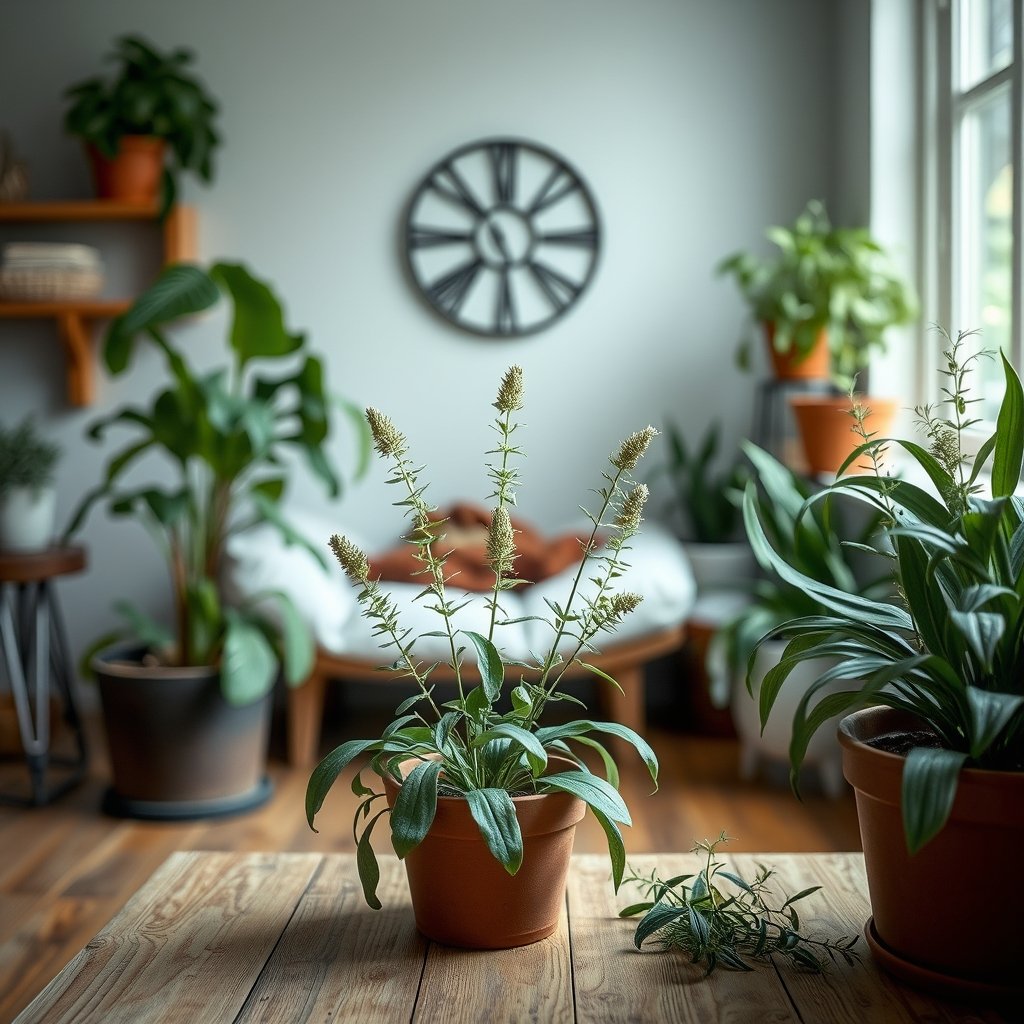
If you want to know how to grow sage indoors, you’re in the right place — sage is one of the most rewarding kitchen herbs you can raise on a windowsill. It’s drought-tolerant, intensely aromatic, and looks beautiful in a terracotta pot. Whether you’re a complete beginner or you’ve already killed a basil plant or two, this step-by-step guide covers everything: soil, light, watering, pruning, and harvesting, so your sage thrives all year long, right inside your home.
Table of Contents
Why Sage Is One of the Best Herbs to Grow Indoors
Sage (Salvia officinalis) is native to the Mediterranean, which means it evolved to handle hot, dry conditions with lean soil. That background makes it unusually forgiving for indoor growing. Unlike basil, which sulks the moment temperatures drop, sage stays robust through cooler months as long as it gets enough light.
Learning how to grow sage indoors pays off in the kitchen too. Fresh sage has a woodsy, slightly peppery flavour that dried sage simply can’t match. A single healthy plant can supply enough leaves for weekly cooking — pasta, roasted vegetables, brown butter sauce, you name it.
It’s also a long-lived perennial. Kept in good conditions, an indoor sage plant can last three to five years before it becomes too woody to harvest productively. That’s excellent value for the small effort it demands.
Step 1 — Choosing the Right Variety for Indoor Growing
Not all sage varieties perform equally well indoors. The most reliable choice is common sage (Salvia officinalis), the standard culinary variety sold in most garden centres. It’s compact, hardy, and adapts well to container life.
If you want something a little different, purple sage (Salvia officinalis ‘Purpurascens’) adds striking colour and tastes just as good. Tricolor sage, with its cream, pink, and green leaves, is another attractive option that works well indoors — though it grows slightly more slowly.
Avoid giant clary sage (Salvia sclarea) for indoor pots; it grows very tall and biennial, meaning you’d have to start over every two years. Stick to the compact officinalis varieties and you’ll find how to grow sage indoors far simpler from the start.
Step 2 — Picking the Right Pot and Soil
Choosing the right container is one of the most important decisions when figuring out how to grow sage indoors. Sage hates soggy roots above all else. A terracotta or clay pot is ideal because the porous walls allow moisture to evaporate from the sides, keeping the root zone from staying wet for too long.
Aim for a pot that is at least 15–20 cm (6–8 inches) in diameter for a single plant. Sage’s roots spread wide, so giving them space prevents the plant from becoming root-bound too quickly. Make sure the pot has at least one drainage hole at the bottom — this is non-negotiable.
For soil, forget standard potting mix. Sage does best in a gritty, free-draining medium. Mix two parts regular potting compost with one part perlite or coarse horticultural sand. This replicates the rocky, lean soil of the Mediterranean hillsides where sage naturally grows. Avoid moisture-retaining mixes labelled for tropical plants — they’ll cause root rot within weeks.
How to Grow Sage Indoors From Seed vs. From Cuttings
When deciding how to grow sage indoors, you have two main starting options: seeds or cuttings. Both work well, but they suit different levels of patience.
Starting from seed
Sage seeds are slow to germinate — expect two to three weeks at room temperature (around 18–21°C). Sow seeds about 5 mm deep in a moist seed-starting mix, keep them somewhere warm and bright, and thin the seedlings once they reach about 5 cm tall. It’ll be three to four months before you have a plant big enough to harvest regularly.
Starting from cuttings
If you want results faster, take a 10 cm cutting from a healthy sage plant, strip the lower leaves, and place the stem in a small glass of water or directly into moist perlite. Roots appear in two to four weeks. Cuttings taken from an established plant are the quickest way to understand how to grow sage indoors from scratch, because the new plant inherits the vigour of its parent.
You can also buy a small potted sage plant from a supermarket or garden centre and transplant it into a larger pot with proper free-draining mix. That’s the fastest route of all, and there’s absolutely nothing wrong with it.
Step 3 — Getting Light Right (This Is the Big One)
Light is the single biggest factor in how to grow sage indoors successfully. Sage needs a minimum of six hours of direct or bright indirect sunlight per day. A south-facing windowsill is the gold standard in the northern hemisphere; a west-facing window works reasonably well too.
If your home doesn’t get enough natural light — especially in winter — a simple LED grow light placed 20–30 cm above the plant for 14 hours a day will compensate effectively. You’ll notice the difference quickly: sage grown in poor light becomes leggy, pale, and loses much of its flavour intensity.
Rotate the pot a quarter turn every week so all sides of the plant get even exposure. Without rotation, the stems stretch toward the light source and the plant becomes lopsided. It’s a small habit that makes a real difference to anyone mastering how to grow sage indoors.
Keep the plant away from cold draughts near windows during winter. Sage can handle cool temperatures down to about 5°C, but sudden cold blasts from opening windows will stress it and cause leaf drop.
Step 4 — Watering and Humidity: Less Is More
Overwatering kills more indoor sage plants than any other mistake. When thinking about how to grow sage indoors, remember: sage wants to dry out a little between waterings. Stick your finger about 2–3 cm into the soil — if it still feels damp, wait another day or two.
In spring and summer, you’ll likely water once every five to seven days. In winter, when the plant is growing more slowly and light levels are lower, you might only water every ten to fourteen days. Always water deeply until water runs from the drainage holes, then let the pot drain fully — never leave it sitting in a saucer of standing water.
Sage actually prefers low humidity, which makes it easier to grow indoors than herbs like basil or mint. Average indoor humidity levels (around 30–50%) are perfectly fine. You don’t need to mist it or use a humidifier — in fact, misting can encourage fungal problems on the velvety leaves. For more detail on indoor herb watering schedules, our guide on how to water aromatic herbs indoors correctly is worth a read.
Step 5 — Feeding Your Sage Plant
Sage is not a heavy feeder. In its natural habitat it grows in poor, rocky soils, so overfertilising is a real risk. Too much nitrogen produces lush, watery growth that smells and tastes weak — the opposite of what you want from a culinary herb.
During the active growing season (spring through early autumn), feed your sage once a month with a balanced, diluted liquid fertiliser — something like a 5-5-5 or 10-10-10 formula diluted to half the recommended strength. That modest boost keeps the plant producing new growth without pushing it into soft, flavourless overdrive.
Skip fertilising entirely in winter. When you’re learning how to grow sage indoors, treating winter as a rest period for the plant is key. It doesn’t need extra nutrients when light levels are low and growth naturally slows. Resume feeding in March or April when you see new shoots emerging.
Step 6 — Pruning and Harvesting to Keep the Plant Productive
Regular pruning is essential to how to grow sage indoors effectively long-term. Without it, sage becomes woody and produces fewer tender leaves from the base — the ones you actually want to cook with.
Harvest by snipping sprigs just above a leaf node (the point where leaves branch off the stem). Never remove more than one-third of the plant at a time. That rule keeps the plant strong enough to bounce back quickly. If you only harvest occasionally from the tips, the plant stays bushy and productive for years.
In early spring, do a more thorough prune: cut the stems back by about one-third of their length. This ‘hard trim’ stimulates fresh new growth from the base. It’s the same technique gardeners use outdoors, and it works just as well on a windowsill.
If your sage flowers — which it sometimes does even indoors — pinch off the flower buds as they appear. Flowering redirects the plant’s energy away from leaf production. The flowers are edible and lovely, but if flavour is your priority, keep them trimmed back. This small step is part of what separates people who struggle with how to grow sage indoors from those whose plants thrive for years.
Step 7 — Troubleshooting Common Problems
Even with good care, problems crop up. Here’s what to watch for when you’re learning how to grow sage indoors.
| Problem | Likely Cause | Fix |
|---|---|---|
| Yellow leaves from base up | Overwatering / root rot | Repot in dry, gritty mix; reduce watering frequency |
| Leggy, pale stems | Insufficient light | Move to a brighter window or add a grow light |
| White powdery coating on leaves | Powdery mildew (poor air circulation) | Improve airflow; remove affected leaves; avoid misting |
| Wilting despite moist soil | Root rot or compacted soil | Check roots; repot if necessary into fresh, free-draining mix |
| Tiny insects on leaves or stems | Aphids or spider mites | Wipe leaves with a damp cloth; treat with neem oil if persistent |
Powdery mildew is the most common fungal issue. It shows up as a white, powdery dusting on the grey-green leaves. It thrives in still, humid air, so the fix is simple: move the plant to a spot with better airflow, stop any misting routine, and trim away badly affected stems. Good air circulation is something many guides skip when explaining how to grow sage indoors, but it genuinely matters.
Spider mites are more common in heated indoor spaces during winter, when air gets dry. You’ll notice fine webbing under the leaves and tiny, moving dots. Wiping the leaves with a damp cloth regularly and treating with a diluted neem oil spray usually resolves the problem without harsh chemicals.
Companion Planting and Pairing Sage With Other Indoor Herbs
Sage pairs beautifully with other Mediterranean herbs that share its preference for bright light and well-draining soil. Thyme and rosemary are natural companions — both share similar watering and light needs. If you’re building a kitchen herb garden on a windowsill, grouping sage with these herbs makes care routines much simpler.
Avoid placing sage next to moisture-loving herbs like mint or parsley in the same pot — their watering needs are simply too different. You can keep them near each other on the same sill, but keep them in separate containers. If you’re curious about growing other herbs alongside your sage, our guides on how to grow rosemary indoors without it drying out and how to grow thyme in an indoor pot are practical companions to this one.
Sage also does well near Salvia relatives and lavender, which similarly thrive in lean, dry conditions. The key is matching water needs, not just aesthetics, when you group plants together. Anyone serious about how to grow sage indoors should think about the whole windowsill ecosystem, not just a single pot.
When and How to Repot Your Sage
Even a well-maintained indoor sage plant will eventually outgrow its pot. You’ll know it’s time to repot when roots start pushing out of the drainage holes or the plant dries out much faster than usual between waterings — a sure sign the roots have taken over the pot.
Spring is the best time to repot, just as new growth begins. Choose a pot one size larger (about 5 cm wider in diameter) than the current one. Go too large and the excess moist soil around the roots increases the risk of rot. Fill the new pot with fresh, gritty mix, settle the plant in, water it lightly, and give it a week or two in a bright spot to adjust.
Repotting is also a good moment to assess root health. Trim any dark or mushy roots cleanly with sterilised scissors before replanting. Healthy roots are white to pale tan and firm. This annual check-in is part of the longer-term rhythm of how to grow sage indoors sustainably.
For a deeper understanding of why Mediterranean herbs like sage have such specific soil and drainage needs, the Royal Horticultural Society’s sage growing guide is an excellent reference. And the University of Minnesota Extension’s guide on growing herbs indoors offers solid science-backed advice for home growers.
Final Thoughts
Mastering how to grow sage indoors really comes down to three things: enough light, restrained watering, and regular harvesting. Get those three right and sage will reward you with aromatic, flavour-packed leaves for years. It’s genuinely one of the most low-maintenance herbs you can grow inside your home.
Start with a good-quality small plant or a cutting from a friend’s garden, pot it up in a gritty, free-draining mix, place it on your sunniest windowsill, and resist the urge to overwater. That’s the foundation of how to grow sage indoors, and everything else builds from there.
Don’t be discouraged if your first attempt isn’t perfect. Even experienced herb growers lose a sage plant to root rot occasionally. The more you observe your plant — noticing how quickly the soil dries, how the leaves look, how fast new growth appears — the better you’ll get at reading what it needs. That relationship between grower and plant is really what how to grow sage indoors is all about.
Frequently Asked Questions
Can sage survive indoors all year round?
Yes, sage can thrive indoors year-round as long as it gets at least six hours of bright light daily. In winter, you may need to supplement with a grow light to maintain healthy growth. It will grow more slowly in the cooler months, which is completely normal — just ease up on watering and skip feeding until spring returns.
How often should I water sage indoors?
Water your indoor sage roughly once every five to seven days in warm months, and every ten to fourteen days in winter. Always let the top 2–3 cm of soil dry out before watering again. The exact schedule depends on your pot size, room temperature, and light levels, so feel the soil rather than following a fixed calendar.
Why does my indoor sage smell weak or taste bland?
Weak flavour is almost always caused by too little light or too much fertiliser. Sage produces its aromatic oils most intensely under strong light and in lean, slightly stressed conditions. Move the plant to your brightest windowsill and cut back on feeding — you’ll notice the fragrance improve within a few weeks.
How long does an indoor sage plant last?
With good care, an indoor sage plant can remain productive for three to five years. After that, the stems become very woody and leaf production drops off significantly. At that point, it’s easiest to take fresh cuttings from the newer growth and start again — your next plant will benefit from everything you’ve learned about how to grow sage indoors.